Docs:Creating a multi-player map
From Mod Wiki
Contents |
Creating a scene in Maya.
- The entire geometry must be created in real-world sizes (if the table in the real life is 1 meter high, it must be created 1 meter high in Maya)
- Character's bounding box has three states: standing
(1.8х0.7х0.7 in meters), sitting(1.5х0.7х0.7 in meters)and crouching(1.2х0.7х0.7 in meters). - The whole level must be not more than
150 thousand triangles.
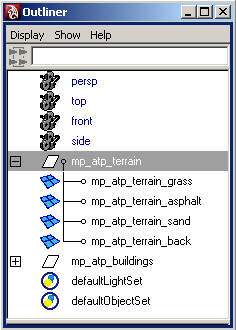
- The scene must consist of groups. The name of the group is composed according to the principle - mp_levelname_geometryname. For example, there are the following groups in our test scene:
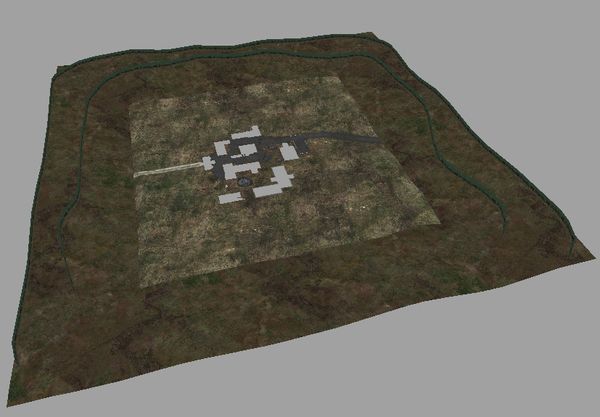
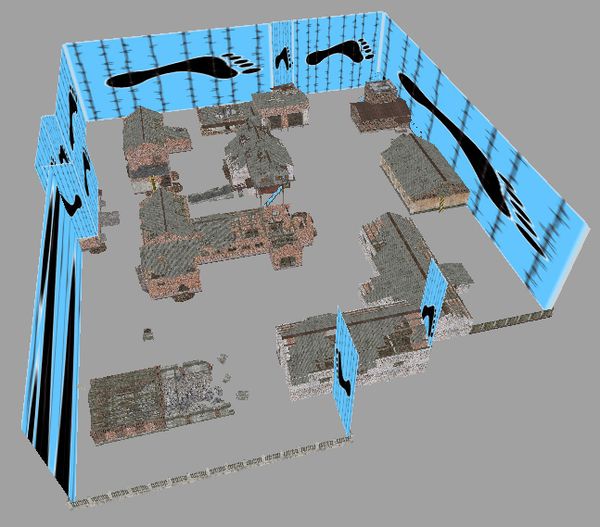
mp_atp_terrain,mp_atp_buildings. The group may have both one object, and several of them. The names of the objects inside the group must by no means coincide with the name of the group.
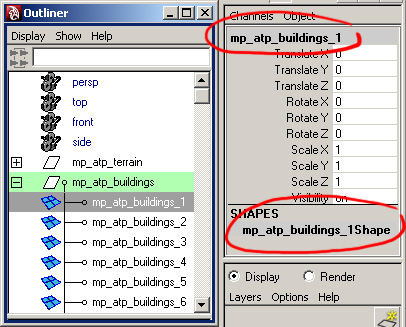
Meaning that within one group, the names must be unique..
- Object's shape must contain the correct name. It's composed according to the principle: object -
objectname, shape -objectnameShape.
Exporting geometry in Maya.
The Video Tutorial will guide you through the exporting process In case when xrayMaya_export doesn't export objects, check for errors and fix them.
The following are considered to be errors for xrayMaya_export:
- Incorrect texture coordinates (stretched textures).
- 0 (zero) square meters polygon.
- Long thin triangles.
- Not adhered points positioned in the same place etc.
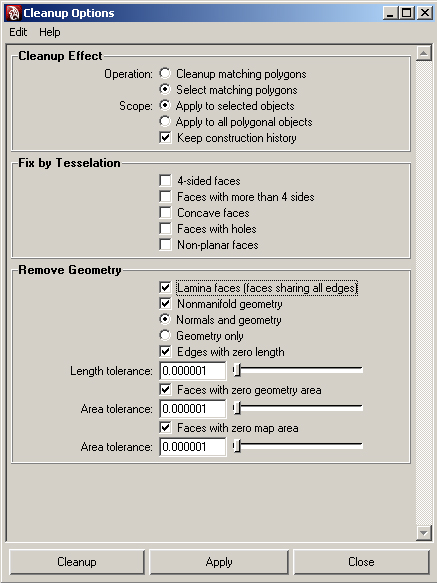
Maya cleanup will show all problematic sections, which need to be fixed up.
Import to LevelEditor's library.
Craeting scene in LevelEditor.
Creating a scene
To get familiar with the process of scene-building, check the video tutorial.
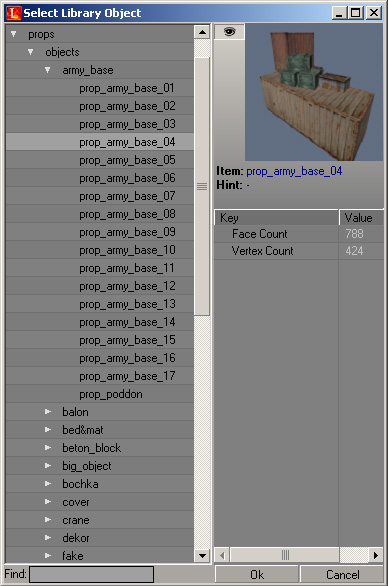
Adding objects from LevelEditor's library
- Edit Mode -> Object ->Select
- Select the necessary object.
- Press "Add new object" to add it to the scene.
Spawns Setup
General issues
There are 3 modes of the Multiplayer gameplay:
- Free for all
- Team play (only 2 teams)
- Artifact hunt
Maximum number of players - 32.
Free for all Setup
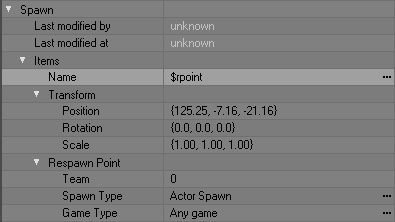
Add to the scene the needed amount of $rpoint (Edit Mode -> Spawn Element -> $rpoint) elements with the basic settings.
Team play Setup
- Add to the scene the needed amount of $rpoint (Edit Mode -> Spawn Element -> $rpoint) elements with the basic settings.
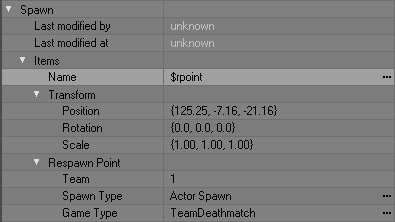
- In case when it is necessary to create $rpoint, which belongs to one team only, change the parameter
Team: 1 or 2, andGame Type: TeamDeathMatch(work only for version 1.003 and higher). In this case all $rpoint with basic settings will serve as spectator place.
Artifact hunt Setup
Creating bases
- Create two box shapes (
Edit Mode -> Shape -> Box) in the places when the opposing bases are going to be located. - Place $team_base (
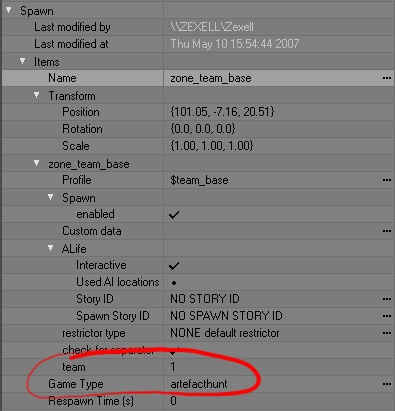
Edit Mode -> Spawn Element -> $team_base) inside each box shape.
- Select $team_base.
- Press
Commands -> Attach Object… - Select the necessary Shape.
Adding spawn point of team members
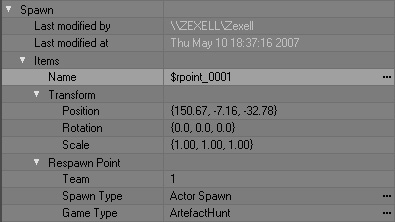
- Add to the scene the needed amount of $rpoint within the limits of box shape of the 1st team with the following settings:
- Same for the 2nd team, but with changed parameter Team to 2.
Adding team particles (indicate the borders of team base)
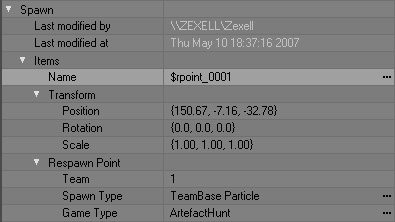
- Add to the scene the needed amount of $rpoint in the limits of box shape of the 1st team with the following settings:
- Same for the 2nd team, but with changed parameter Team to 2.
Add artifacts spawn point
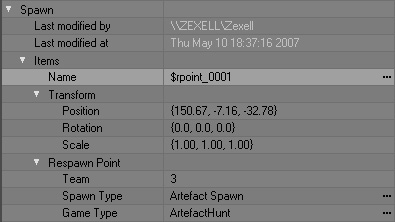
Add to the scene the needed amount of $rpoint with the following settings:
Compile
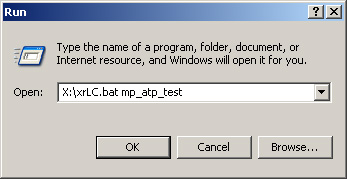
Windows -> start -> run type in the command line:
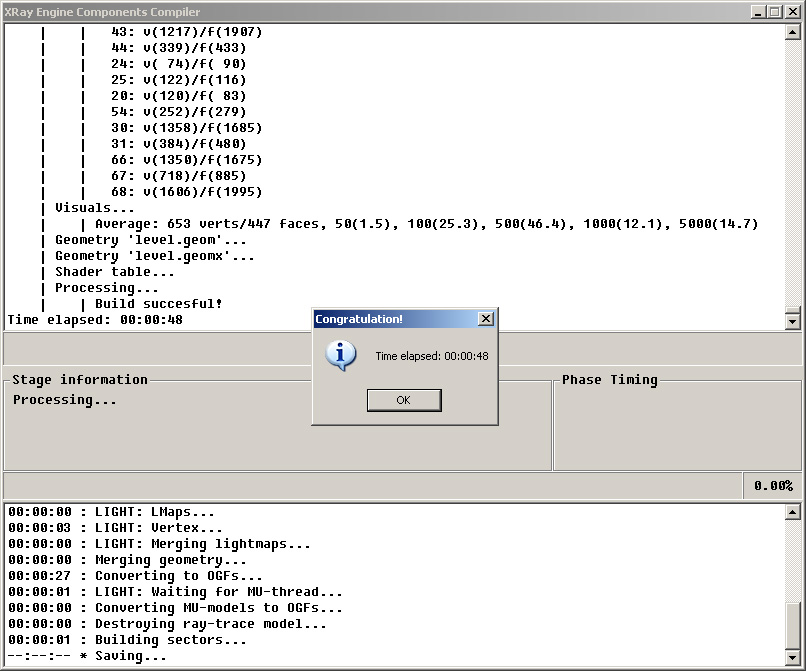
After successful compilation:
Adjusting configuration file and adding the level to the game
Create the folder gamedata (and all necessary sub-folders) in root game folder (S.T.A.L.K.E.R):
- Copy the file
c:\Program Files\X-Ray SDK\level_editor\gamedata\config\mp\map_list.ltxtoS.T.A.L.K.E.R\gamedata\config\mp\ - Copy the contents of the folder
c:\Program Files\X-Ray SDK\level_editor\gamedata\levels\mp_atp_test\toS.T.A.L.K.E.R\gamedata\levels\mp_atp_test\ - Copy the texture
c:\Program Files\X-Ray SDK\level_editor\gamedata\textures\user\user_floor_dirty_gr.ddsto the folderS.T.A.L.K.E.R\gamedata\textures\user\(if more textures have been added, copy them all) - Copy the file
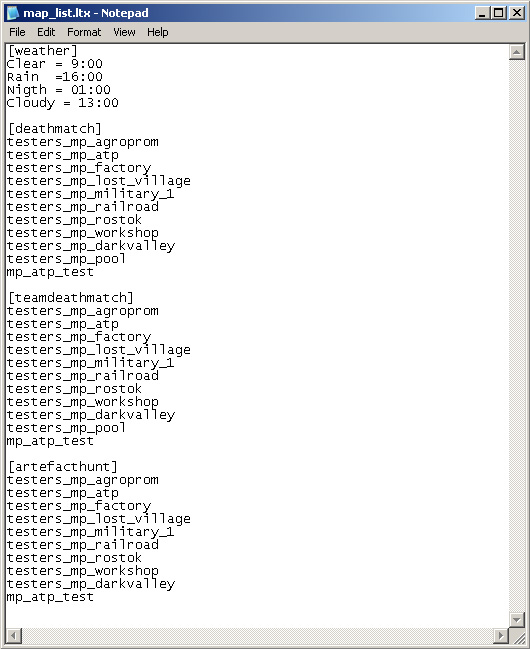
c:\Program Files\X-Ray SDK\level_editor\gamedata\textures\textures.ltxtoS.T.A.L.K.E.R\gamedata\textures\ - Add mp_atp_test to each [deathmatch], [teamdeathmatch], [artefacthunt] section of the file
S.T.A.L.K.E.R\gamedata\config\mp\map_list.ltx
